FREE SHIPPING OVER £150 | USE CODE WELCOME FOR 10% OFF YOUR FIRST ORDER.

0

Your Cart is Empty

Put your Wilfa stand-mixer to the test with a pride flag layered cake

June 01, 2022 3 min read

Put your Wilfa stand-mixer to the test with a pride flag layered cake

June is the most colourful month because LGBTQ+ pride is celebrated in June. Rainbow flags and show-stopping rainbow cakes are a great way to celebrate this month. The rainbow flag has come to signify Pride celebrations and support for LGBTQ+ rights. While Pride celebrations themselves began in the USA in the 60s, this symbolic flag is an icon from the 70s.

The rainbow pride flag was created by Gilbert Baker, an activist, an artist, and an openly gay military veteran. Baker created this rainbow flag for the LGBTQ+ community.


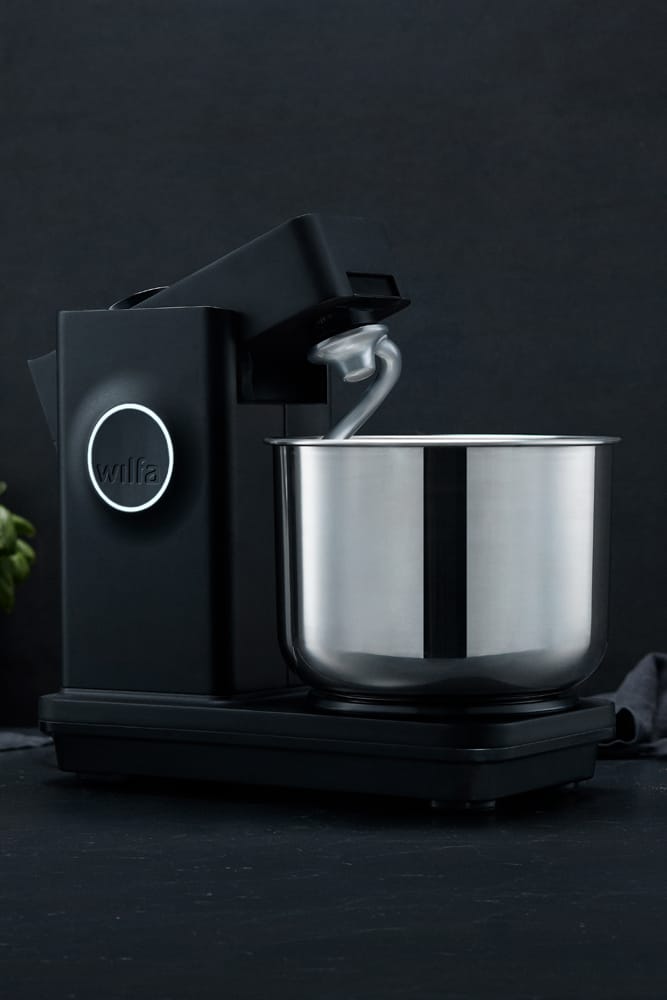
Whether you’re celebrating Pride month by joining in with parades, events or low-key house parties; a pride-flag cake is sure to be a show-stopping addition to the festivities! This type of recipe is absolutely what the Wilfa ProBaker Stand Maker was made for – why spend hours labouring to mix up a 7 layer cake when our ProBaker can tackle it with ease? This high-capacity, 20-speed mixer makes this eye-catching cake a walk in the park. Read on for the recipe:

Rainbow Pride Cake

Preparation time: 20 minutes

Cooking time: 20 minutes

Additional time for decoration and layering: 1 hour

Total time:
1 hour 40 minutes

Ingredients list:

Rainbow cake layering

  • Plain flour: 375g
  • Caster sugar: 375g
  • Baking powder: 2 ½ teaspoons
  • Salt: ½ teaspoon
  • Unsalted butter: 275g (room temperature)
  • Egg whites: 7
  • Buttermilk: 330g (room temperature)
  • Vegetable oil: 2 tablespoons
  • Vanilla extract: 2 teaspoons
  • Food colouring (purple, blue, yellow, orange, red, green, pink)

Vanilla Butter Cream Frosting

  • Unsalted butter: 650g(room temperature)
  • Vanilla extract: 2 tablespoons
  • Salt: ½ teaspoon
  • Icing sugar: 1300g
  • Whipping cream: 110g

Instructions:

  • Pre-heat the oven to 180°c/325F. Line seven 12cm sandwich tins and grease them with non-stick cooking spray.
  • Mix the ingredients (plain flour, sugar, salt, and baking powder in a Wilfa Pro Baker Stand Mixer with a paddle attachment or a Wilfa Hand Mixer until it is all combined.
  • Add the butter slowly into the dry mixture and keep the mixer speed slow. Continue mixing the mixture until there are no large chunks left and it becomes crumbly.
  • After that, add eggs in on low speed until it mixes well. Now mix the buttermilk on a low speed in two instalments.
  • Add 2 tablespoons vegetable oil and 2 tsp vanilla extract to the mixture and mix on low speed until it mixes well.
  • Clean the sides of the bowl with the FlexiVISP attachment and beat the mixture for 30 to 40 seconds on low speed to make sure everything is properly combined.
  • Divide this batter equally into your 7 baking tins. You can use a Digital Weight Scale to divide the batter evenly.
  • Add one colour to each pan to make rainbow layering.
  • Bake these coloured batters for 17 to 20 minutes until they are springy to touch or a skewer poked into the centre comes out clean.
  • You can bake these tins in two or three episodes depending on the size of your oven.
  • Let the pans cool for 10 minutes after baking. After that, separate the cake from the pan with the help of the spatula.
  • Keep these layers in the freezer for 15 minutes to speed up the cooling process. After that, you can flip the pan to remove the cake.

Vanilla buttercream Frosting:

  • Beat the unsalted butter for 3 minutes on a high speed with a whisk attachment to a Wilfa ProBaker Mixer.
  • As you whisk the butter, it should become fluffy and light in colour.
  • At medium speed, add the vanilla extract and the salt.
  • Gradually add the icing sugar in slow instalments. In between, add small splashes of the whipping cream.
  • Mix it on low speed for a few minutes until you get desired consistency.
  • If the frosting is too thick, add additional cream, or if the frosting is too thin, add more icing sugar.

Assembling of pride rainbow layered cake:

  • Take a greaseproof cake board to stack and frost the cake layers. Now place the first layer on the board using a dab of frosting. Start with the purple layer here.
  • Spread an even quantity of frosting between each layer.
  • Repeat the process and stack the layers in order.
  • Now surround the cake with a thin coat of frosting. Smooth the frosting using a bench scraper. Keep the cake in the fridge for 10 minutes and in the freezer for 5 minutes to keep the frosting firm.
  • Add another layer of frosting to the keep following the same procedure and chill it out in the fridge and freezer for the same duration.
  • To make it more colourful, you can paint the side of the cake with food colouring using a clean, thick paintbrush or add edible glitter or royal icing figures.


Created using The Wilfa Probaker Stand Mixer

Browse the full kitchen range >